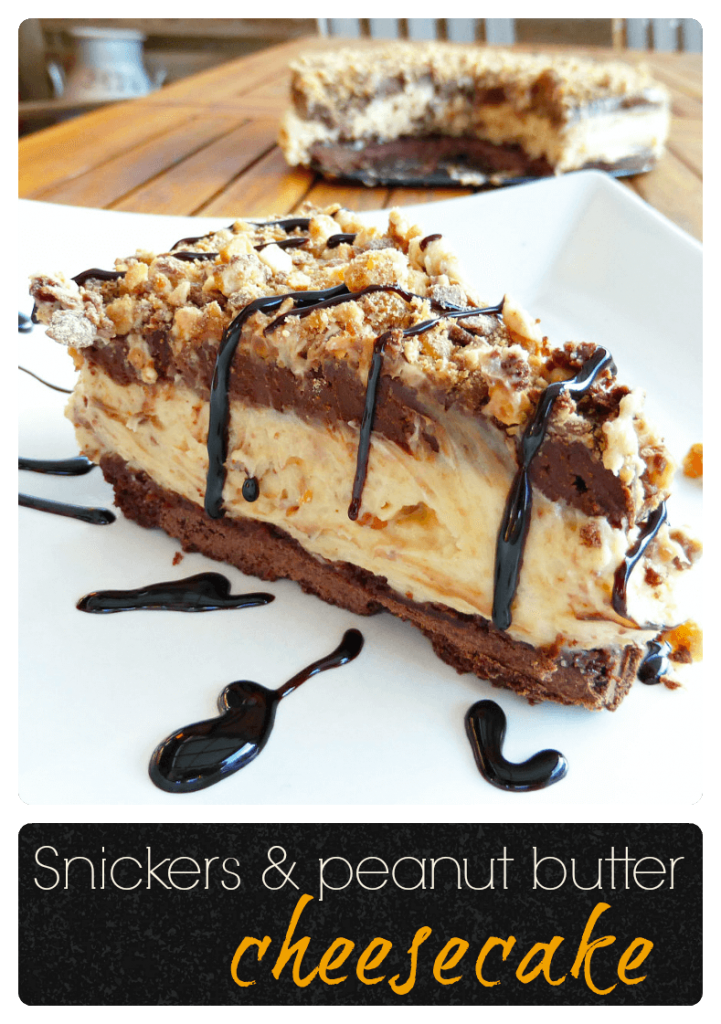
Hankering for a sublime dessert? It doesn’t come more decadent than this Snickers and peanut butter cheesecake.
Please note: This is a sponsored post in collaboration with Homify
So today, I bring you two things that are close to my heart: no-bake cheesecakes packed with delightful naughtiness and great storage! A little random, I know, but bear with me!
Firstly, cheesecakes: when eating them, I have no preference over baked or non-baked varieties, but when making them, well, that’s a whole different ball game! Although this Snickers and peanut butter cheesecake does have a baked crust, the no bake element I am referring to is the actual cheesecake filling. Baking cheesecakes often makes me feel like I am playing roulette, whereas when no baking is involved, the cheesecakes are pretty much fool-proof. Another great thing about no-bake cheesecakes is that although they look impressive, they are so easy that anyone, even those not familiar with baking, can successfully make one!
Homify
But before I go into detail about this cheesecake, I want to talk about the other thing that brings me immense pleasure: great storage! We are currently planning the complete overhaul and renovation of our kitchen, and I can’t wait! Understanding the importance of maximising space, I was really excited to be asked to write a feature post regarding kitchen storage, in collaboration with Homify. If you’ve never had the fortune to stumble across them previously, they provide an amazing amalgamation of inspiration and ideas for home improvement – you’ll spend hours just drooling enviously at the photos, believe me!
Lack of storage space
Anyone who enjoys baking or cooking, whether in a professional capacity or just pottering around making food for your family, knows how important the kitchen (especially its layout) is. I sometimes get a little frustrated by the lack of surface and storage space we have. Mind you, I am honest enough to confess that I could live in a mansion and still wouldn’t find room for all my baking paraphernalia when in the throes of creating (I can’t be the only one who can’t make a simple batch of cupcakes without using 20 bowls and leaving the kitchen looking like a bomb has exploded, can I?).
Although I can’t wait to get right down to the nitty-gritty of planning our new kitchen, thinking about what we need, especially when the room is at the heart of our family, is not easy. I am most certainly an amateur hobbyist when it comes to all things culinary, but I am lucky enough to share my kitchen space with a trained chef (yes, he does cook for us, and yes, he makes the most divine meals).
So we want to make sure that we do everything possible to get it all right. Other than ripping everything out, we have decided little else for our new kitchen, but I do know that our biggest priority will be storage. I hate it when you have to stuff everything in a small space so that every time you open a door, hundreds of plastic containers you might need somewhere off in the distant future, fall out. Every, single, time. Or having to push through a ton of rarely used kitchen appliances just to find a mixing bowl. Frustrating, or what?
Storage space that works
So, for the sake of my sanity, maximising space and finding kitchen storage that is practical and works, is incredibly important for me. This is the first time we have ever planned and designed our own kitchen, and so it is terribly exciting and scary at the same time – we don’t want to get it wrong! This is why I love Homify’s feature about kitchen storage solutions – the suggestions are so clever and innovative, utilising space in the most unlikely of places. Mind-boggling! I want to use them all, seriously! My personal favourite is this amazing sleek design for making the most of even the narrowest space – beyond cool!

Do you know what? I think I am enamoured of interior design as much as I am baking; I just love the endless possibilities.
Then again, coming up with this indescribably good, yet shockingly simple, Snickers and peanut butter cheesecake takes some beating. Yes, siree. Decadent, naughty, irresistible and yes, most definitely a treat. Don’t feel bad though; remember what I say about balance? Just save it for a special occasion or the weekend. Done deal.
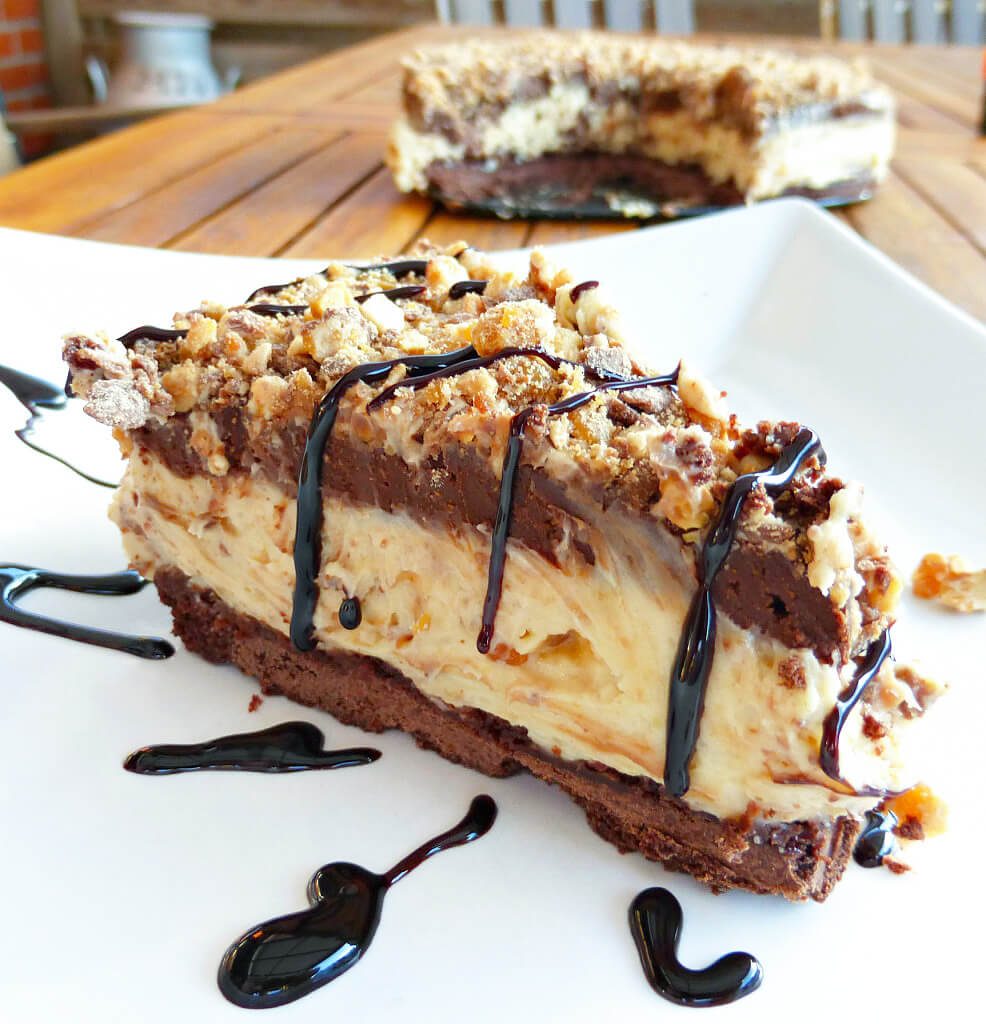
This no bake cheesecake has a chocolate shortbread base (or crust depending on your side of the Atlantic) which is completely homemade. Admittedly, although scrunching up a tonne of Oreos, Graham crackers or digestives certainly makes for a delicious bottom for your cheesecake, it isn’t that much harder to make it from scratch.
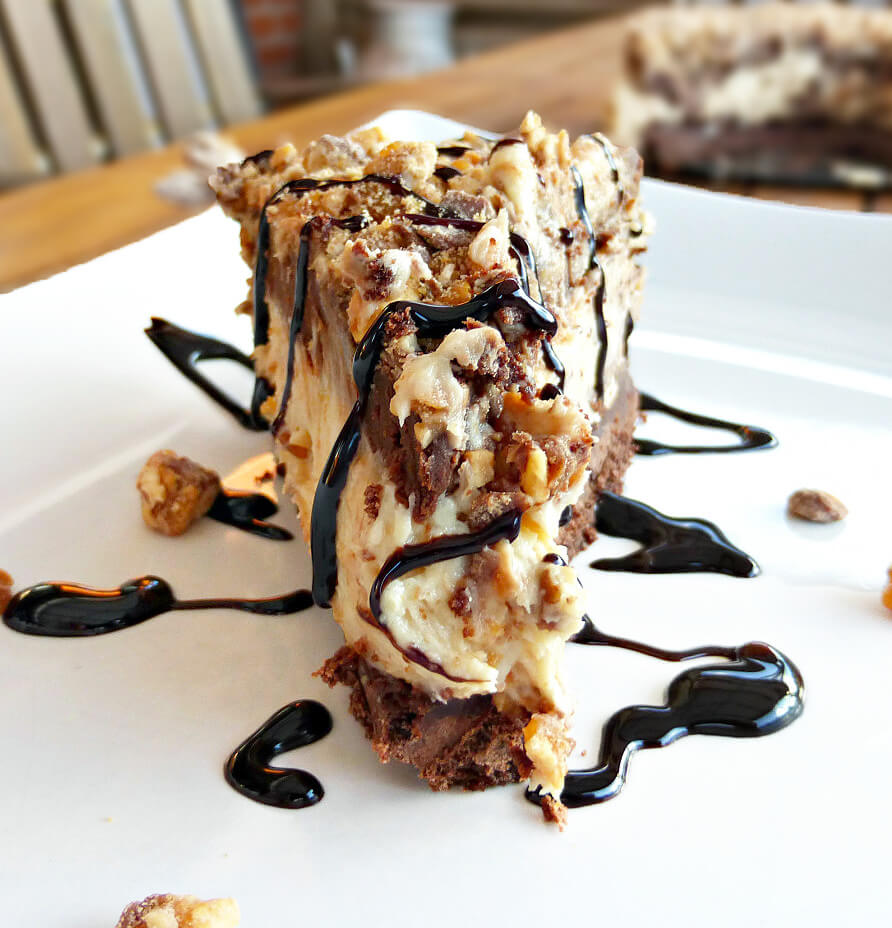
The filling is packed with cream cheese, whipped cream, peanut butter and smashed Snickers bars. The topping (as if it needs one?) is an amazing mix of rich dark chocolate ganache and a heavy sprinkling of yet more Snickers bar chunks (in for a penny; in for a pound, right?).

- 70 g (2/3 cup) icing (confectioners') sugar
- 30 g (1/4 cup) cocoa
- 120 g (1 cup) plain (all-purpose) flour
- 1/2 teaspoon vanilla sugar see notes
- 100 g (1/2 cup) butter
- 400 g (1 + 3/4 cups) cream cheese
- 120 ml (1/2 cup) whipping cream
- 100 g (1 cup) icing (confectioners') sugar
- 170 g (2/3 cup) peanut butter
- 150 g around 3 regular sized Snickers bars (frozen)
- 200 g (1 + 3/4 cups) dark chocolate
- 120 ml (1/2 cup) whipping cream
- chocolate sauce for drizzling (optional)
-
Pre-heat the oven to 150°C (300°F). Grease a springform tin (mine was heart-shaped and measures 8.5" across, so an 8" round tin would work great). Melt the butter and then beat in the icing sugar. Mix in the cocoa and then add the flour until a thick dough forms. Push the dough down into the tin until it is evenly spread and then prick all over with a fork. Place in the fridge for 30 minutes and then bake for around 20-25 minutes until the edges are firm. Leave to cool completely.
-
Beat cream cheese, icing sugar and peanut butter together until smooth. In a separate bowl, whisk the cream until it is nice and thick, then fold into the cream cheese mixture. Lastly, using a food processor, chop the Snickers into small pieces (make sure you do this when they are frozen or you will be left with a sticky mess!). Gently stir in half of the Snickers and retain the other half for later. Spoon on to the base (it's very thick) and then refrigerate for at least 4 hours (overnight is better) until it is firm to the touch (please note that even after overnight refrigeration, the cheesecake never becomes rock hard, just firmer).
-
Heat the cream in a pan until it just starts to bubble. Break the chocolate up into small pieces and place in a fairly large bowl so that the pieces are not piled on top of each other. Pour over the cream and allow to sit for around five minutes. After this time, the chocolate should have melted - stir the mixture until the cream and chocolate are fully incorporated. Pour over the cheesecake and then sprinkle the remaining Snickers pieces on top. Put back in the fridge until the ganache has hardened. I drizzled over a little chocolate sauce just to pretty up the photo really, but it is not absolutely necessary! Serve and enjoy!
- I use vanilla sugar in the majority of my recipes. If you don't have access to it, or would prefer to use essence or extract, Leaf have a handy converter.
- Please be aware that my conversions from metric to imperial (grams to cups) are worked out through information I find online, and therefore, may not be entirely accurate. If in doubt, I recommend you use your own methods of converting.
Please note: This is a sponsored post in collaboration with Homify
If you like things peanut, check out these recipes:
Chocolate Cheesecake with a Peanut Butter Cake Crust and Salted Peanut Dulce de Leche Topping
No Bake Peanut Butter Salted Caramel Slices (gluten free & no refined sugar)